Finally, GitLab!
No time like the present to get a Gitlab instance going for all of my code.
I am going to attempt to make this instance as scalable as possible, even though it’ll just be me using it.
It is a bit more challenging then just a mono installation of Gitlab, so we’ll start out at the mono install so I can start hosting my projects there and then build out to a more scalable solution in the future.
The infrastructure at the end of this blog post will look like this:
Setting Up the Environment
Time to pull out the ol’ faithful Pulumi for this, creating a new directory and a new Pulumi project by running pulumi new aws-python.
Then add the following to requirements.txt
1
2
pulumi-awsx>=2.0.0,<3.0.0
pulumi-cloudflare>=5.0.0,<6.0.0
I am going to use Cloudflare as my DNS provider, if you aren’t using Cloudflare make sure to swap out for the correct pulumi provider for your DNS host.
After that wipe the __main__.py clean and add these imports:
1
2
3
4
5
### Imports
import pulumi
import pulumi_aws as aws
import pulumi_awsx as awsx
import pulumi_cloudflare as cloudflare
Building the Infrastructure
A New VPC
While all AWS accounts come with a default VPC I want to start moving away from using it, which will allow more control over my infrastructure.
Using the AWSX package is a super simple way to spin up a VPC quickly, so I’ll use that for now.
1
vpc = awsx.ec2.Vpc("core")
Nice and simple, it quickly builds a VPC with 3x private and public subnets as well as an Internet Gateway and NAT Gateways in each Availability Zone.
Required Resources
Installing a mono version of GitLab is easy with the Onmibus installer.
We will need to setup a few resources and fetch the right AMI ID before we can spin up the Ec2 instance.
I am using Amazon Linux 2 as my OS of choice, as it is based on RedHat, which I am pretty familiar with.
1
2
3
4
5
6
7
8
9
10
11
12
13
14
15
16
17
18
19
20
21
22
23
24
25
26
27
28
29
30
31
32
33
34
35
36
37
38
39
40
41
42
43
44
45
46
47
48
### Fetch Amazon Linux Ec2 AMI
amazon_linux = aws.ec2.get_ami(
    most_recent=True,
    filters=[aws.ec2.GetAmiFilterArgs(
        name="name",
        values=["amzn2-ami-hvm-*-x86_64-gp2"]
    )]
)

### Security group - Allow all for now
gl_sg = aws.ec2.SecurityGroup(
    'gitlab-sg',
    description='GitLab Security Group',
    vpc_id=vpc.vpc_id,
    ingress=[
        aws.ec2.SecurityGroupIngressArgs(from_port=22, to_port=22, protocol='tcp', cidr_blocks=['0.0.0.0/0']), # Required for Git SSH connections
        aws.ec2.SecurityGroupIngressArgs(from_port=80, to_port=80, protocol='tcp', cidr_blocks=['0.0.0.0/0']), # Required for LetsEncrypt
        aws.ec2.SecurityGroupIngressArgs(from_port=443, to_port=443, protocol='tcp', cidr_blocks=['0.0.0.0/0']), # HTTPS for website
    ],
    egress=[
        aws.ec2.SecurityGroupEgressArgs(from_port=0,to_port=0, protocol="-1", cidr_blocks=['0.0.0.0/0']),
    ]
)

### IAM Role for SSM Access
gl_role = aws.iam.Role(
    'gl_role',
    assume_role_policy=aws.iam.get_policy_document(
        statements=[
            aws.iam.GetPolicyDocumentStatementArgs(
                actions=['sts:AssumeRole'],
                principals=[aws.iam.GetPolicyDocumentStatementPrincipalArgs(
                    type='Service',
                    identifiers=['ec2.amazonaws.com'],
                )] # Allow EC2 to assume gl_role
            )
        ]
    ).json,
    managed_policy_arns=[
        aws.iam.get_policy(name='AmazonSSMManagedInstanceCore').arn # Basic policy for SSM access
    ]
)

### Instance Profile
instance_profile=aws.iam.InstanceProfile(
    'gl_instance_profile',
    role=gl_role.name
)
Deploying GitLab
We’ll use the User Data script to install GitLab Community Edition.
The script will install some prerequisites, make sure a couple services are running, setup the GitLab repository and finally install GitLab-CE.
1
2
3
4
5
6
7
8
9
10
11
12
### Userdata for Gitlab instance
gl_userdata="""
#!/bin/bash
yum install -y curl policycoreutils-python openssh-server openssh-clients perl postfix

systemctl enable sshd --now
systemctl enable postfix --now

curl https://packages.gitlab.com/install/repositories/gitlab/gitlab-ce/script.rpm.sh | bash

EXTERNAL_URL="https://lab.betternet.online" yum install -y gitlab-ce
"""
If the EXTERNAL_URL is setup correctly (with the right DNS records set) GitLab will use LetsEncrypt to generate a SSL certificate for the instance automatically.
For now this is a great thing, really making getting a basic setup running very easy and secure.
Now it is quick and easy to spin up an Ec2 instance:
1
2
3
4
5
6
7
8
9
10
11
12
13
14
15
16
### GitLab instance
gitlab = aws.ec2.Instance(
    "gitlab",
    ami=amazon_linux.id,
    instance_type="t3.medium",
    user_data=gl_userdata,
    subnet_id=vpc.public_subnet_ids[0],
    iam_instance_profile=instance_profile,
    user_data_replace_on_change=True,
    vpc_security_group_ids=[
        gl_sg.id
    ],
    tags={
        "Name": "GitLab"
    }
)
GitLab also generates a new root passwords and saves it to /etc/gitlab/initial_root_password.
The file is removed automatically after the first gitlab-ctl reconfigure run after 24 hours, so make sure you save the password elsewhere (like a password manager) before it gets deleted.
1
2
3
4
5
6
7
8
9
10
[root@ip-10-0-47-169 ~]# cat /etc/gitlab/initial_root_password
# WARNING: This value is valid only in the following conditions
#          1. If provided manually (either via `GITLAB_ROOT_PASSWORD` environment variable or via `gitlab_rails['initial_root_password']` setting in `gitlab.rb`, it was provided before database was seeded for the first time (usually, the first reconfigure run).
#          2. Password hasn't been changed manually, either via UI or via command line.
#
#          If the password shown here doesn't work, you must reset the admin password following https://docs.gitlab.com/ee/security/reset_user_password.html#reset-your-root-password.

Password: [[REDACTED]]

# NOTE: This file will be automatically deleted in the first reconfigure run after 24 hours.
I’ll also set the right DNS record on Cloudflare so I can reach the site:
1
2
3
4
5
6
7
8
9
10
11
12
### Fetch Cloudflare zone
zone = cloudflare.get_zone(name="betternet.online")

### Create DNS Record
record = cloudflare.Record(
    "gitlab-record",
    name="lab",
    zone_id=zone.id,
    type="A",
    value=gitlab.public_ip,
    proxied=False
)
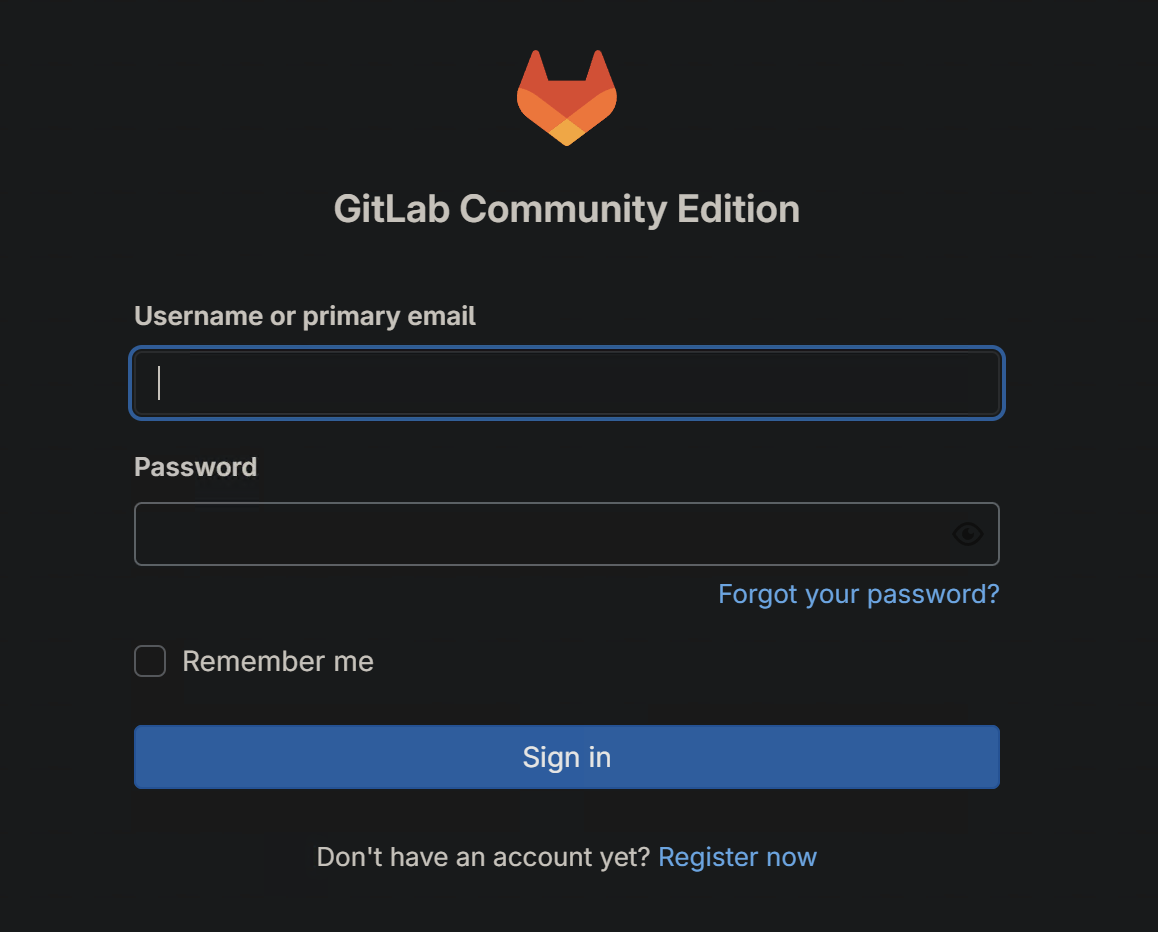
After running pulumi up in a terminal setup with Cloudflare and AWS API tokens and waiting for 10 minutes we can then browse to the URL and see the login page for GitLab.
Finishing up
And just like that you have a working GitLab instance up and ready to go.
Be sure to store the root account details securely in a password manager and create a separate account for you to use, it is not a good idea to use the root account outside break-glass incidents.
Also watch out for terminating the running instance, in it’s current state all data is stored in the GitLab instance, so you will lose any data and configuration if you terminate it.
