Setting up the Blog!
Well, here we are….
After having tried to manage multiple personal projects I thought it would be much more beneficial (and I much more likely to complete them) to put them in blog posts.
The first project is going to be this website, the blog!
To keep everything simple I’ll be creating a serverless blog system that is easy to use and could allow extensions in the future (like comments).
The blog will be hosted in an S3 bucket and will use the Static Hosting capability of S3 to deploy the website out.
The DNS domain I am using is already registered with Cloudflare, so I am going to keep it there for now and use the Cloudflare CDN.
Pulumi is my current tool of choice for building infrastructure, so we will be using that with the python programming language.
After a quick Google, Jekyll seems to be the community favorite for static websites.
While I did have a look at some alternatives like Nikola, the level of community support with Jekyll was unbeatable (plus the themes look very nice).
At this stage everything will be deployed from the console, I am going to build out a GitLab instance in a later to store the codebase in the future.
A very quick diagram of the infrastructure has it looking like this:

And a Mermaid chart for fun
    flowchart LR
        A[User]
        B[Cloudflare]
        C[S3 Bucket]
        D[Dev Computer]
    A --> |Viewer|B
    B --> |Origin|C
    D --> |S3 Sync|C

        class A,B,C,D box
Building the Blog
After picking the tooling we first start with the blog.
Creating a directory to hold both the pulumi and Jekyll code.
$ mkdir blog
$ cd blog
First lets create the Jekyll website, details on installing Jekyll and getting setup is covered here.
$ jekyll new btnblog
$ cd btnblog
$ source /bin/activate
This post really isn’t about using Jekyll, as I am only learning myself so don’t want to parrot what could be bad practice.
The basics on Jekyll though is you create posts (blog posts in this case) under the _posts directory with this format YYYY-MM-DD-blog-name.md.
You can use other formats but I am going to stick with markdown as it is a reusable skill.
You can preview the site by running the following command and opening http://127.0.0.1:4000
$ bundle exec Jekyll serve –livereload
Prerequisites
There is a bit of groundwork todo before we start the fun stuff, like creating the Pulumi project and installing the requirements.
Lets create the directory to store the pulumi code
$ cd ..
$ mkdir infra && cd infra
Then create the pulumi project, the setup is interactive so it’ll ask some questions to get you setup.
$ pulumi new aws-python
Edit requirements.txt and add some more packages
1
2
3
pulumi-cloudflare==5.16.0
requests==2.31.0
pulumi-synced-folder==0.11.1
Then run pulumi install to get the packages installed into the virtual env.
Once those packages have been installed, add these imports to the top of the __main__.py file:
1
2
3
4
5
import pulumi
import requests
import pulumi_synced_folder
import pulumi_cloudflare as cloudflare
from pulumi_aws import s3, iam
This file is the main python Pulumi program where we will put the IAC code into for the S3 bucket and setting up Cloudflare.
The Fun Part
We can create the S3 bucket that will store the Jekyll website.
The pulumi template already comes with the code to create a bucket so we just have to update the bucket name.
It doesn’t really matter what the resource is called at this stage, pulumi will add some randomness and we can easily update the name in the future.
1
2
3
bucket = s3.Bucket(
    'btn-public-blog'
)
Now we can deploy the bucket to make sure the pulumi code works.
Make sure to setup your console with your AWS keys/tokens and run the following command.
$ pulumi up
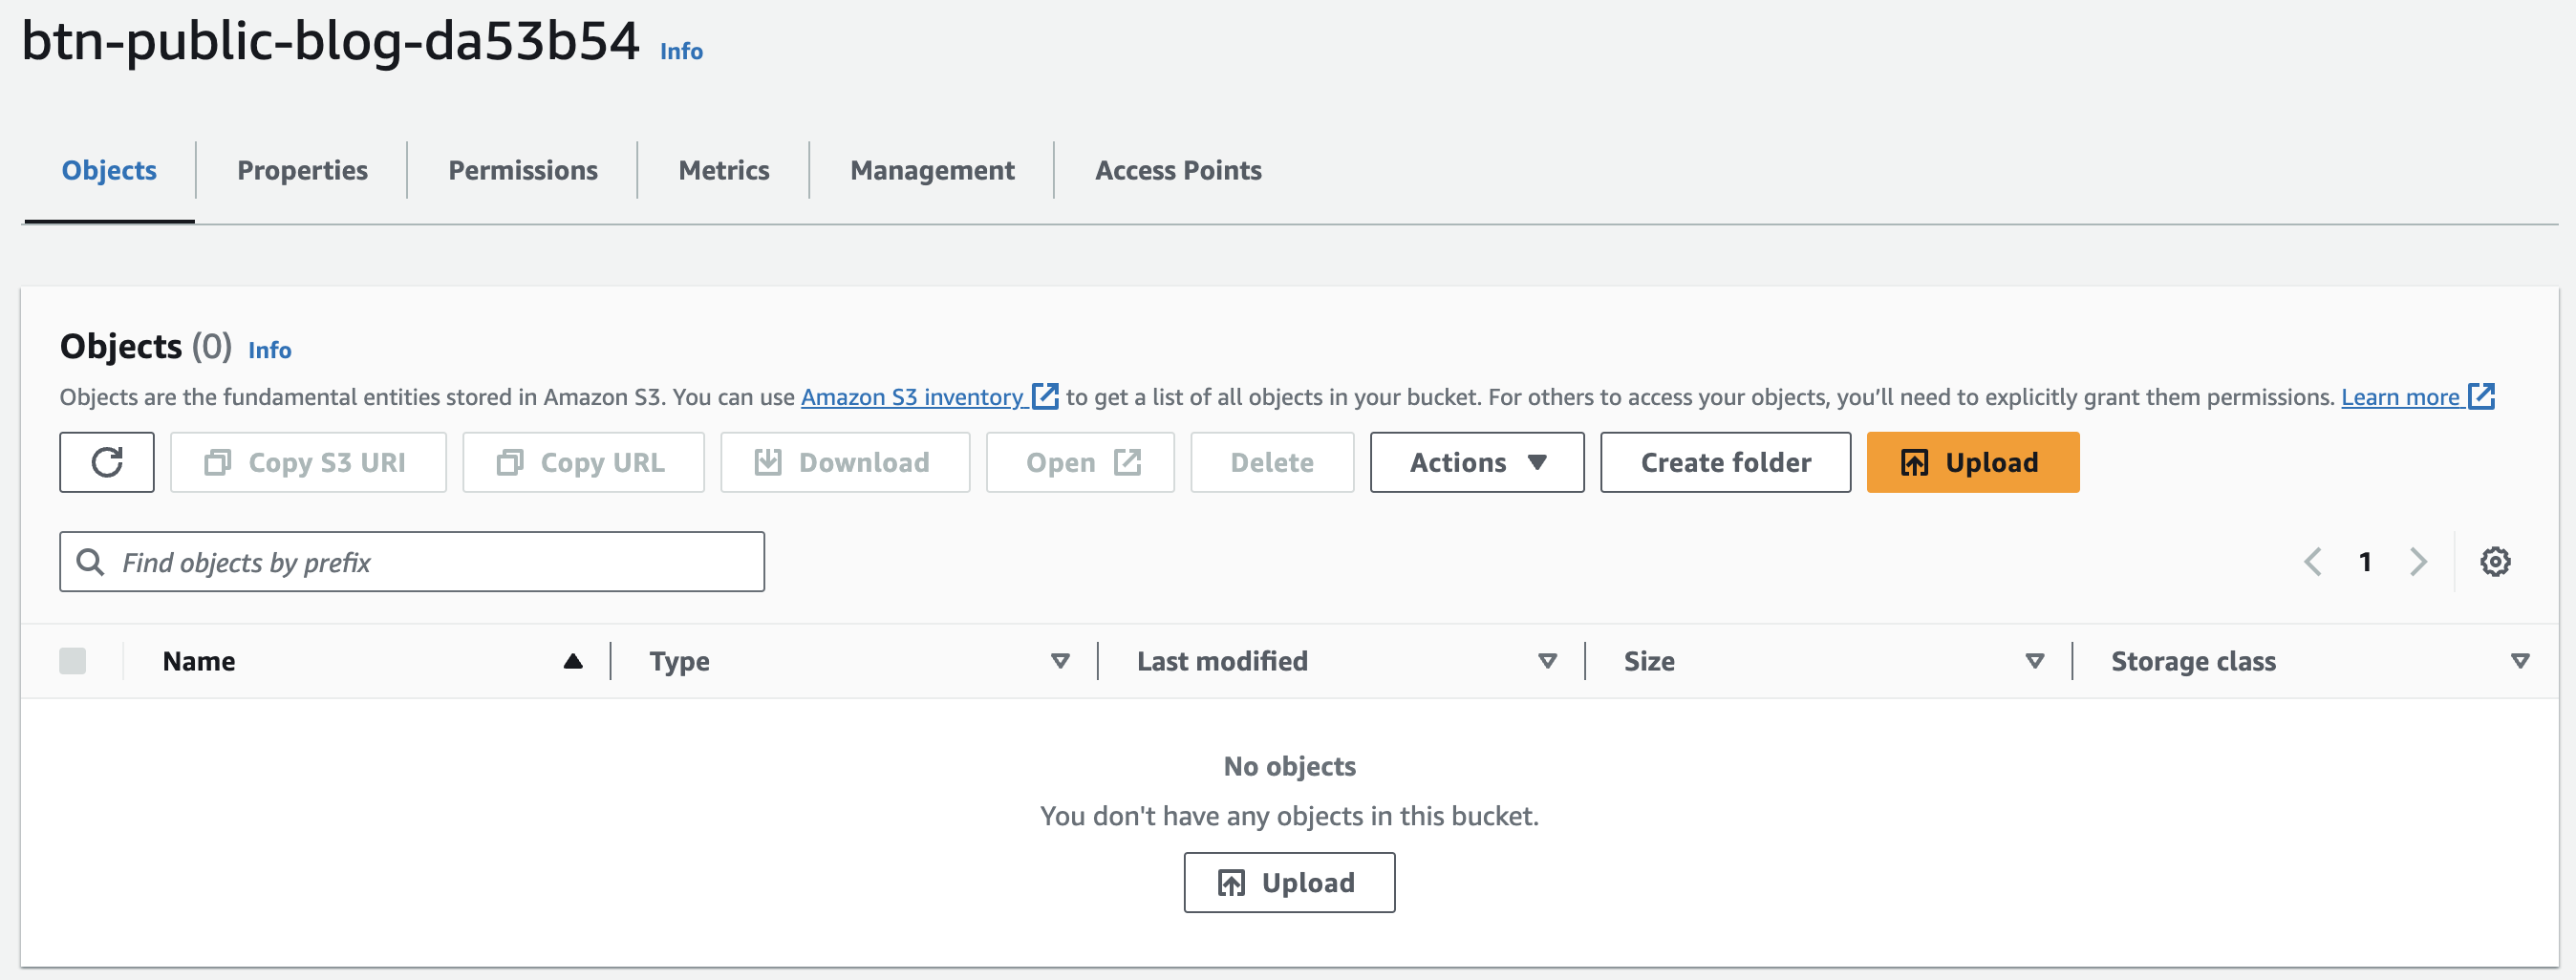
And just like that you have an empty bucket in your AWS Account:
We need to make some changes to the S3 bucket to allow objects to be public, which the website will need to distribute files to clients.
The bucket needs both “Block public access” turned off, as well as ACLs enabled for the bucket (so we can set the website objects to public).
1
2
3
4
5
6
7
8
9
10
11
12
13
14
15
# Set ownership controls for the new bucket
ownership_controls = s3.BucketOwnershipControls(
    "ownership-controls",
    bucket=bucket.bucket,
    rule=s3.BucketOwnershipControlsRuleArgs(
        object_ownership="ObjectWriter",
    )
)

# Allow public ACLs for objects
public_access_block = s3.BucketPublicAccessBlock(
    "public-access-block",
    bucket=bucket.bucket,
    block_public_acls=False,
)
Now it is time to upload the blog files into the bucket.
I’ll be using a pulumi plugin called pulumi-synced-folder which, for now, will be copying the files from the directory that Jekyll outputs locally.
Be careful, once you run the pulumi code all objects uploaded will be available to be read publicly.
Do not upload any keys or anything else you wouldn’t want accessed.
1
2
3
4
5
6
7
8
9
10
11
12
# Sync blog site folder to S3
blog_folder = pulumi_synced_folder.S3BucketFolder(
    "synced-blog-folder",
    path="../btnblog/_site",
    bucket_name=bucket.bucket,
    acl=s3.CannedAcl.PUBLIC_READ,
    opts=pulumi.ResourceOptions(
        depends_on=[
            ownership_controls
        ]
    )
)
Pulumi will try and create resources in parallel when there is no dependencies defined, either implicitly (referencing another resource) or explicitly (depends_on).
If there isn’t an explicit dependency set for the ownership_control resource to be created first, then pulumi will try and sync the website objects as public, which AWS won’t allow without the ownership controls set.
Now if you go and check your bucket, you will see a couple things.
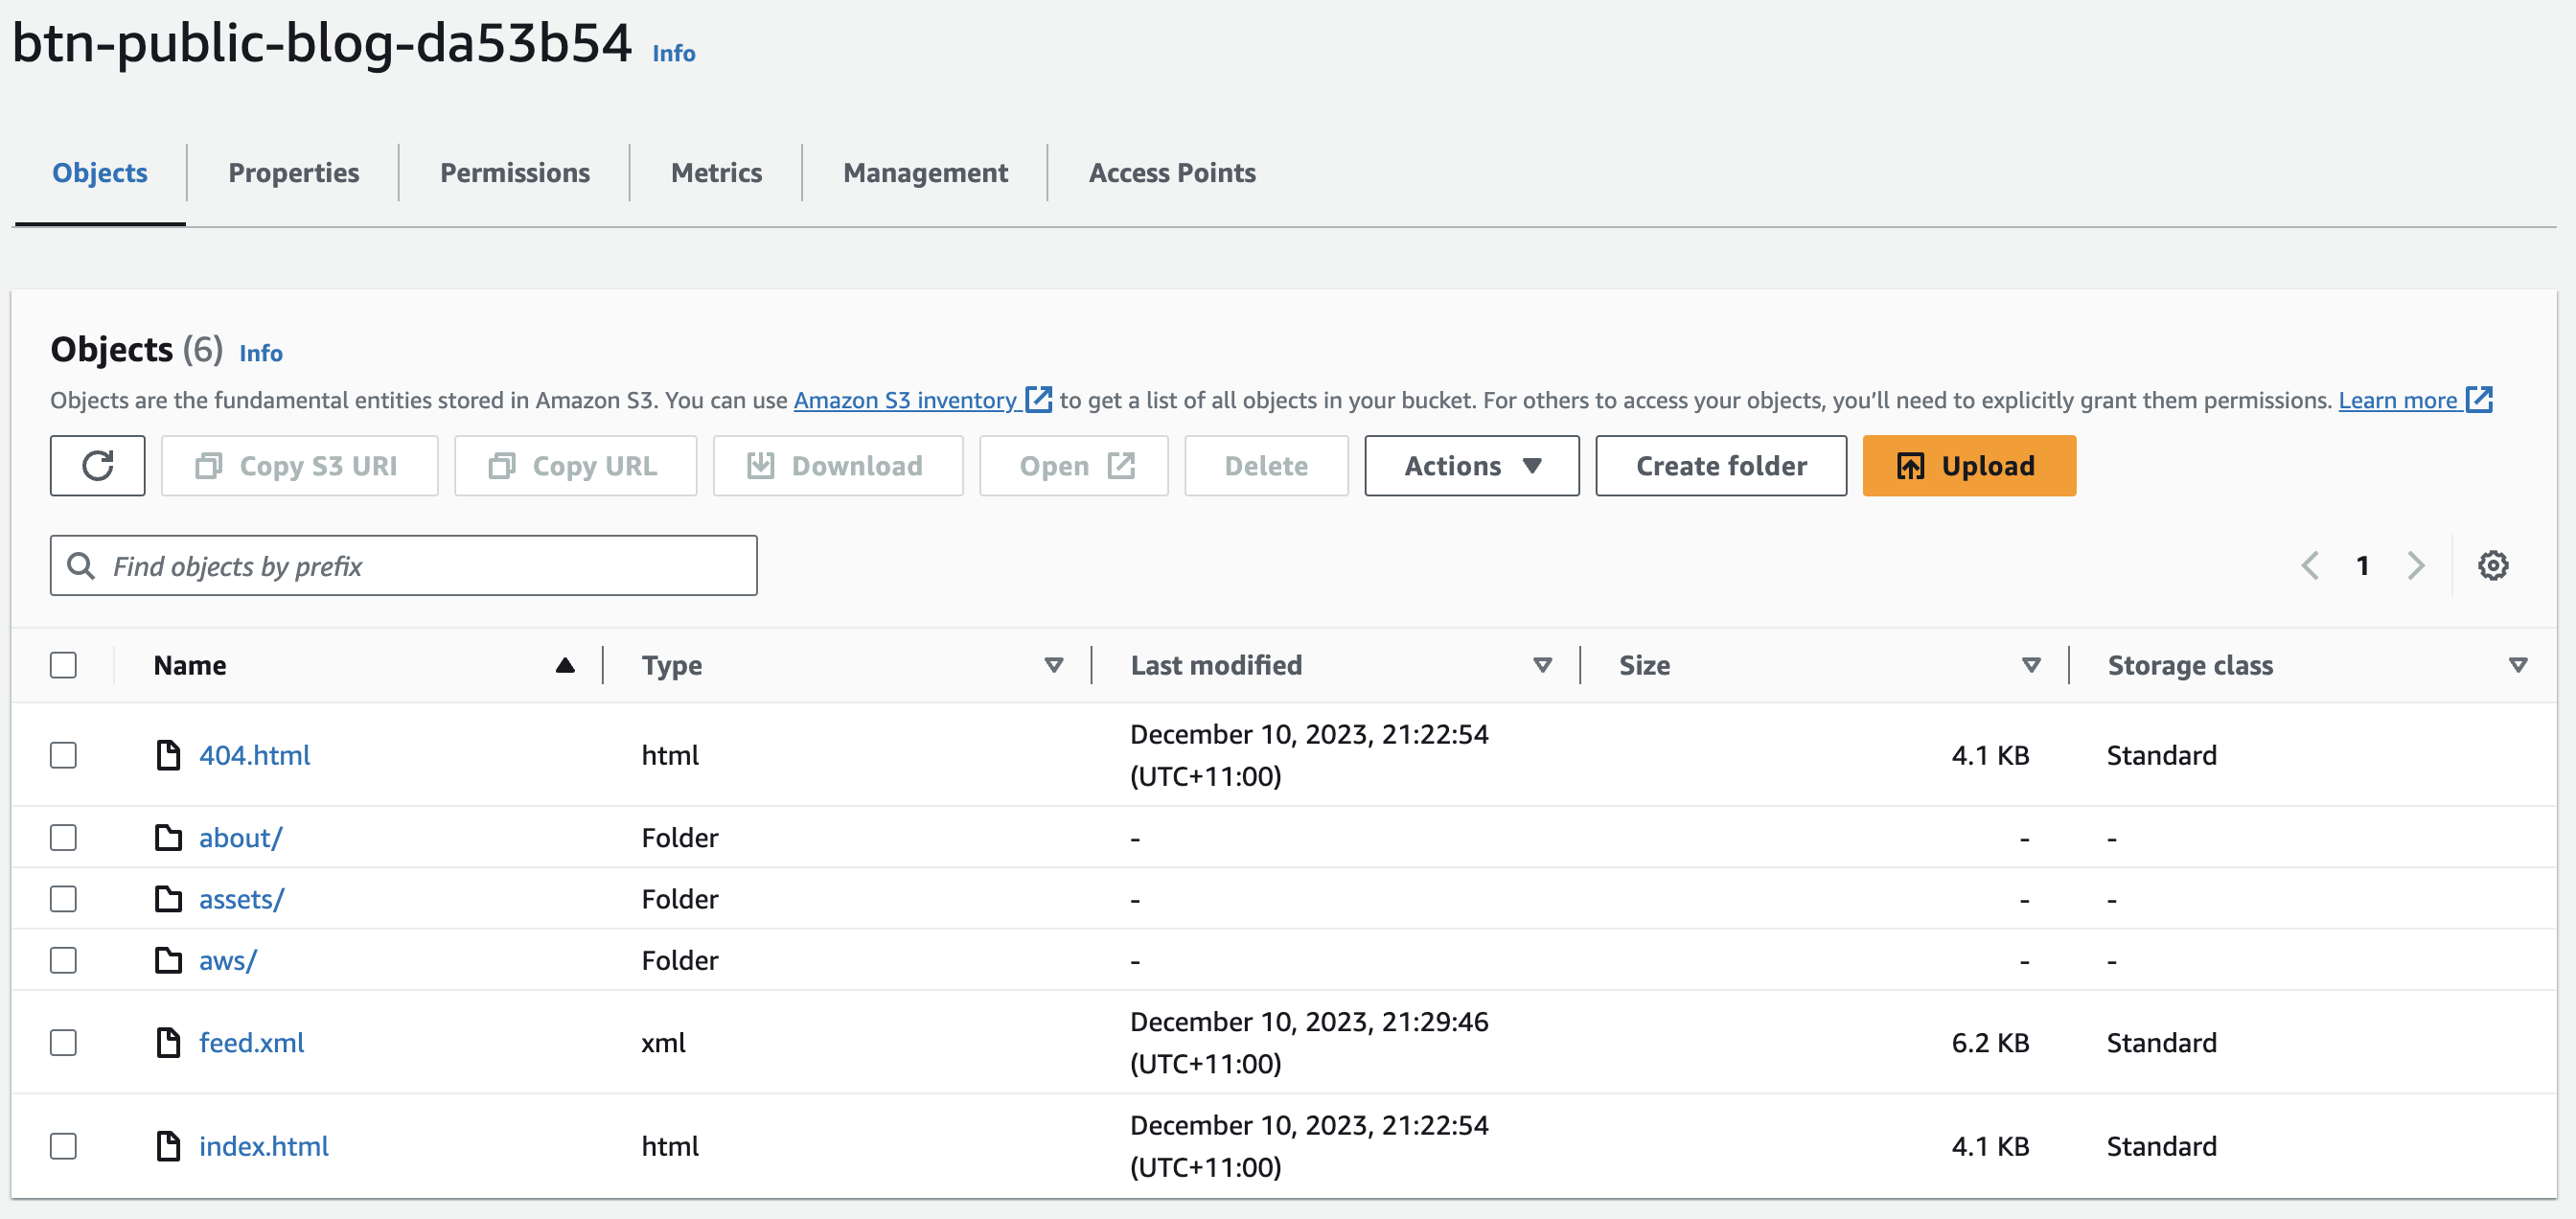
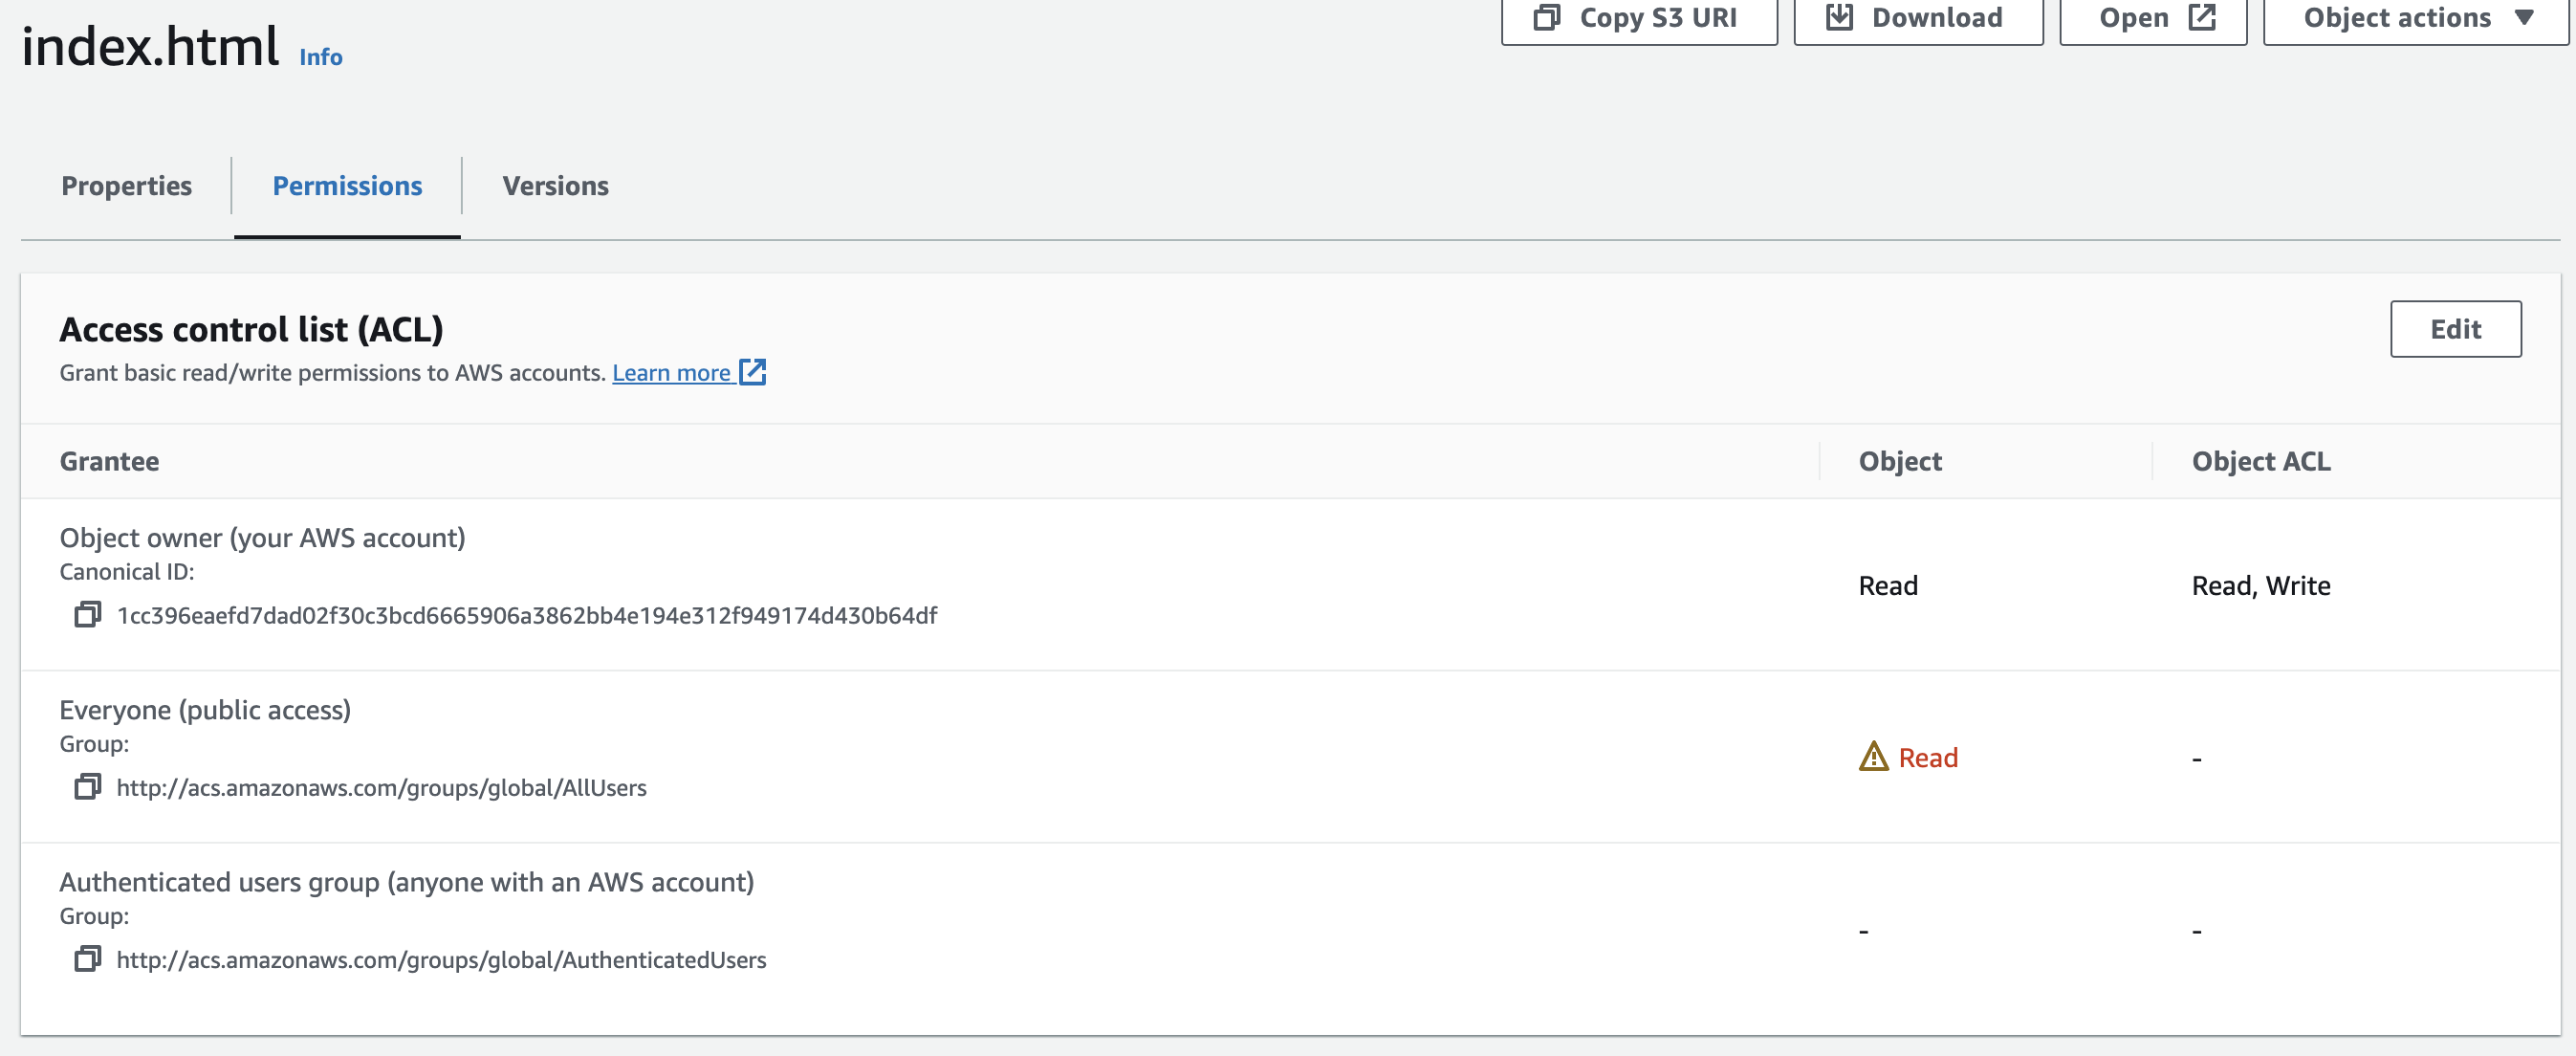
The first, you have files in the bucket, congratulations! And the second… the files will have been uploaded with their ACLs set to Public_Read.
Bucket with Objects 
Object Permissions 
Now we need to tell S3 that it is hosting a static website by updating the bucket resource, as well as telling it where our INDEX and ERROR HTML files are.
1
2
3
4
5
6
7
8
# Create an AWS resource (S3 Bucket)
bucket = s3.Bucket(
    'btn-public-blog',
    website=s3.BucketWebsiteArgs(
        index_document="index.html",
        error_document="404.html",
    ),
)
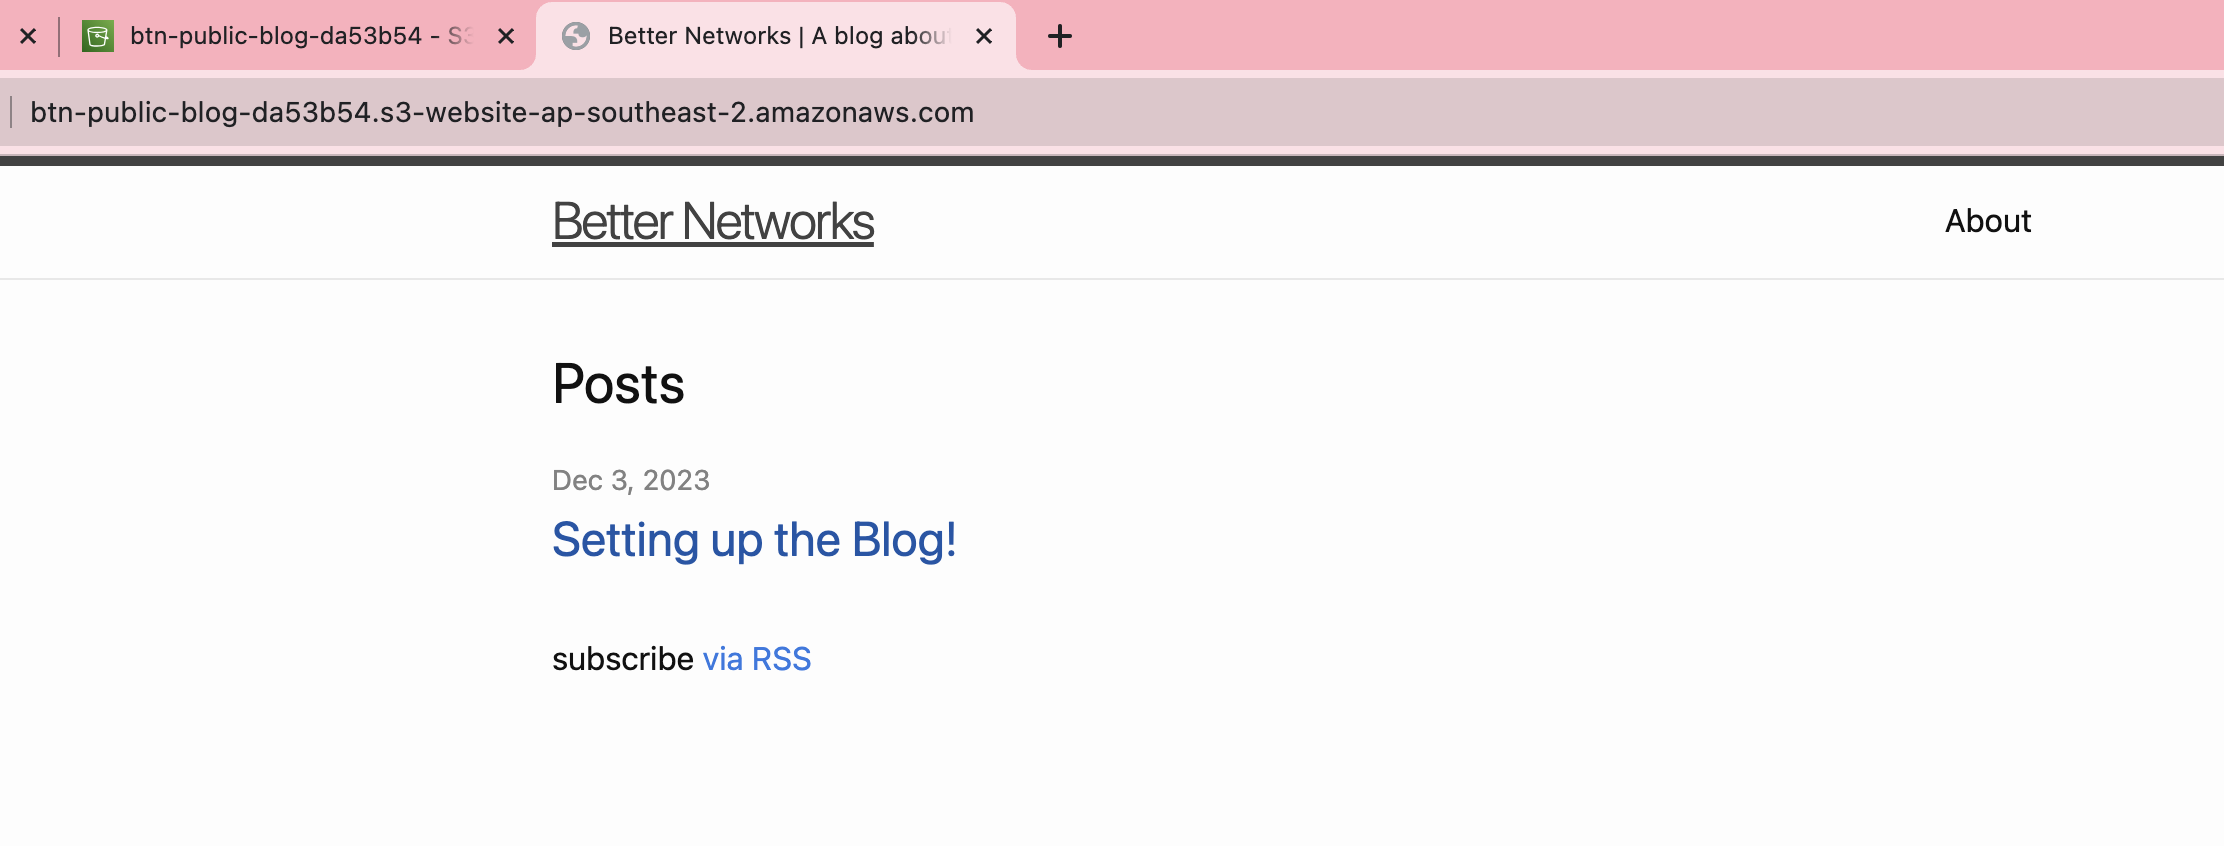
Now if we enter the properties of the bucket in the AWS Console and scroll all the way down, we will see that static hosting has been enabled, as well as a URL.

Clicking the URL takes us to the website (my blog in this case).

Awesome! Except there is something wrong, the bucket name.
With the current bucket name I can’t use my existing domain name, so that needs to be changed by adding the bucket parameter to the S3 resource:
1
2
3
4
5
6
7
8
bucket = s3.Bucket(
    'btn-public-blog',
    bucket='blog.betternet.online',
    website=s3.BucketWebsiteArgs(
        index_document="index.html",
        error_document="404.html",
    ),
)
Now the bucket can be recreated and all the objects re-uploaded by running pulumi up.
Setting up Cloudflare
The last step is setting up Cloudflare to handle the DNS requests and be the CDN for the blog.
First, lets create a bucket policy that’ll only allow access from the Cloudflare CDN.
Cloudflare hosts a list of IP ranges they use and as we are using pulumi, we can just use python to grab the URL and turn it into a list.
1
2
3
4
5
6
7
8
9
10
11
12
13
14
15
16
17
18
19
20
21
22
23
24
# Set the bucket policy to allow Cloudflare IPs
bucket_policy = s3.BucketPolicy(
    "cloudflare-bucket-policy",
    bucket=bucket.bucket,
    policy=iam.get_policy_document(statements=[iam.GetPolicyDocumentStatementArgs(
        resources=[
            bucket.arn.apply(lambda arn: f"{arn}/*"),
        ],
        principals=[iam.GetPolicyDocumentStatementPrincipalArgs(
            type="*",
            identifiers=[
                "*"
            ]
        )],
        actions=[
            "s3:GetObject",
        ],
        conditions=[iam.GetPolicyDocumentStatementConditionArgs(
            test="IpAddress",
            variable="aws:SourceIp",
            values=requests.get('https://www.cloudflare.com/ips-v4/#').text.splitlines()
        )]
    )]).json
)
Now we can go add the code to deploy the Cloudflare DNS record and change some settings to allow HTTP connections to S3.
1
2
3
4
5
6
7
8
9
10
11
12
13
14
15
16
17
18
19
20
21
22
23
24
25
26
27
28
29
30
# Get the zone id from Cloudflare
zone = cloudflare.get_zone(name="betternet.online")

# Create DNS Record
record = cloudflare.Record(
    "blog-record",
    name="blog",
    zone_id=zone.id,
    type="CNAME",
    value=bucket.website_domain,
    proxied=True
)

# Create the config rule to enable HTTP connections to S3
rule_set = cloudflare.Ruleset(
    'blog_rule',
    name='blog',
    kind='zone',
    phase='http_config_settings',
    zone_id=zone.id,
    rules=[cloudflare.RulesetRuleArgs(
        description='blog',
        expression='(http.host eq "blog.betternet.online")',
        action='set_config',
        action_parameters=cloudflare.RulesetRuleActionParametersArgs(
            ssl='flexible',
            automatic_https_rewrites=True
        )
    )]
)
The End!
And that is it, a very simple blog website to start posting thoughts, projects and (possibly) plans.
There is still a lot to do (the source code being entirely on my machine and not in a repository is a pretty big one) but it is a good starting point.
